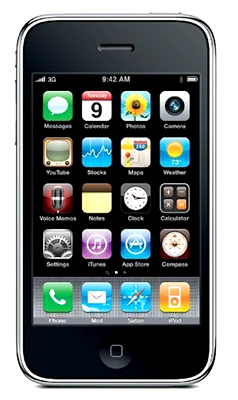
 Below are instructions for setting up your email accounts onto your iPhone. If you have more than one email address, you will need to follow the below process for each of them. We do not provide support for iPhone emails & settings. This guide is just to help get you started.
Step 1
Select the settings icon
Step 2
Select “Mail, Contacts, Calendars”
Step 3
Add account …
Step 4
Select “Other”
Step 5
Add Mail Account …
Step 6
Enter the following details:
Name: Enter your name or business name
Email: Enter your email address in the normal format.
Password: Enter the email password provided to you by Daisy Bank Design.
Description: Enter a description of how you would like it to show on your iPhone. This could be your personal name or your business name.
Click Next after you have entered all of the details.
Step 7
On the next screen enter the following:
Ensure IMAP is selected
Incoming Mail Server
Host name: This is entered as the following mail.yourdomain. e.g. mail.yourwebsite.co.uk
User name: This is your email address exactly.
Password: This should carry over from the previous screen but if not, enter your email password again provided to you by Daisy Bank Design.
Outgoing Mail Server
Host name: This is entered as the following mail.yourdomain. e.g. mail.yourwebsite.co.uk
User name: This is your email address exactly.
Password: Enter your password again provided to you by Daisy Bank Design.
Click Next after you have entered all of the details.
Step 8
If you don’t receive an error message, click Save.
You may receive a message saying “Cannot Connect using SSL” If so, click Yes and the email account should setup correctly. That’s it, you should be done.
To test everything is working – try sending an email to and from your new email account.